|
||||||||||||||||
|
||||||||||||||||
|
Description
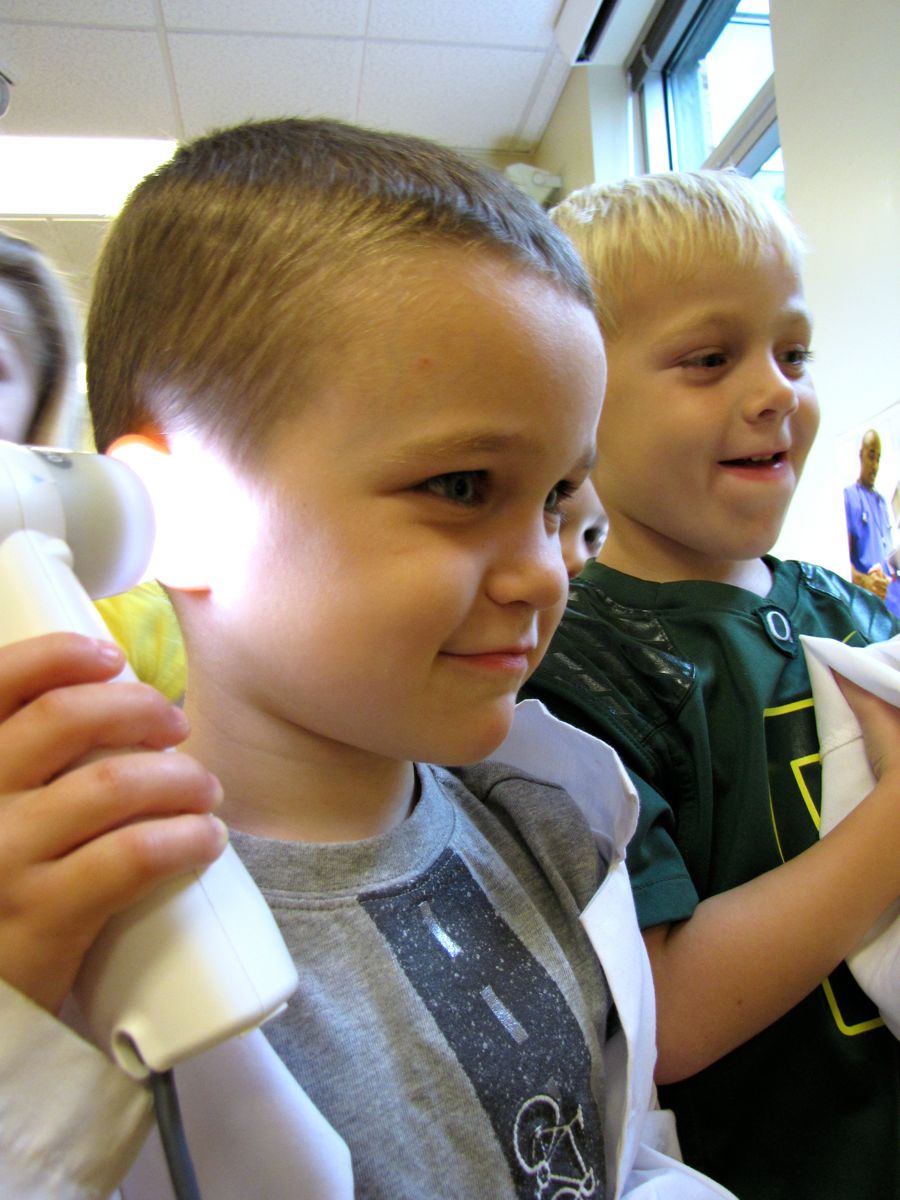
 One of the great joys of early learning occurs when young children experience seeing the world in new and unexpected ways. Digital Microscopes can provide such a perspective. They empower children's insight when they are used as a manipulative tool that provides them with perspectives that are engaging and unique. One of the great joys of early learning occurs when young children experience seeing the world in new and unexpected ways. Digital Microscopes can provide such a perspective. They empower children's insight when they are used as a manipulative tool that provides them with perspectives that are engaging and unique.
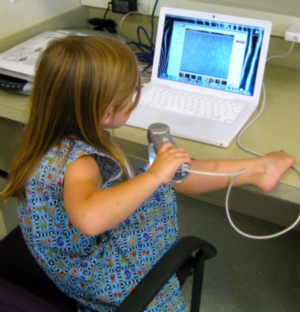
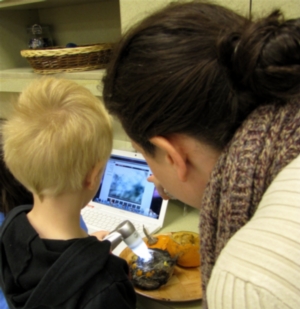
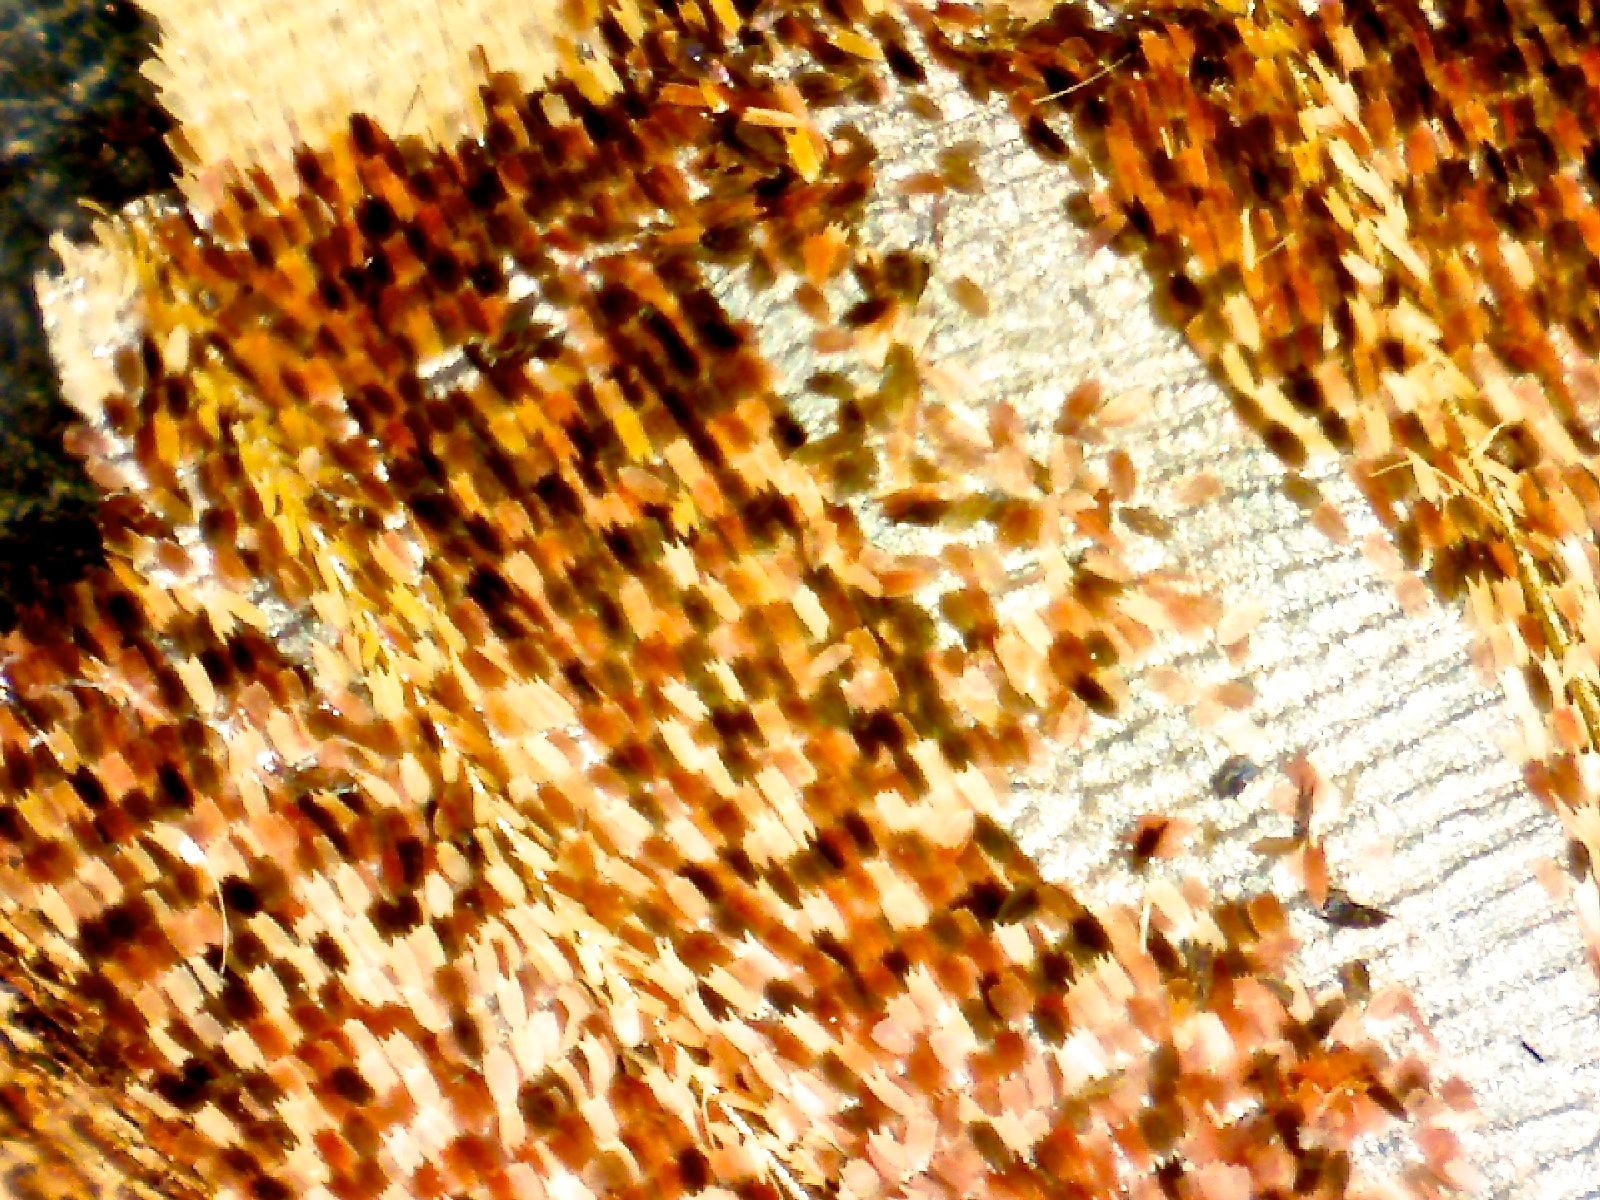
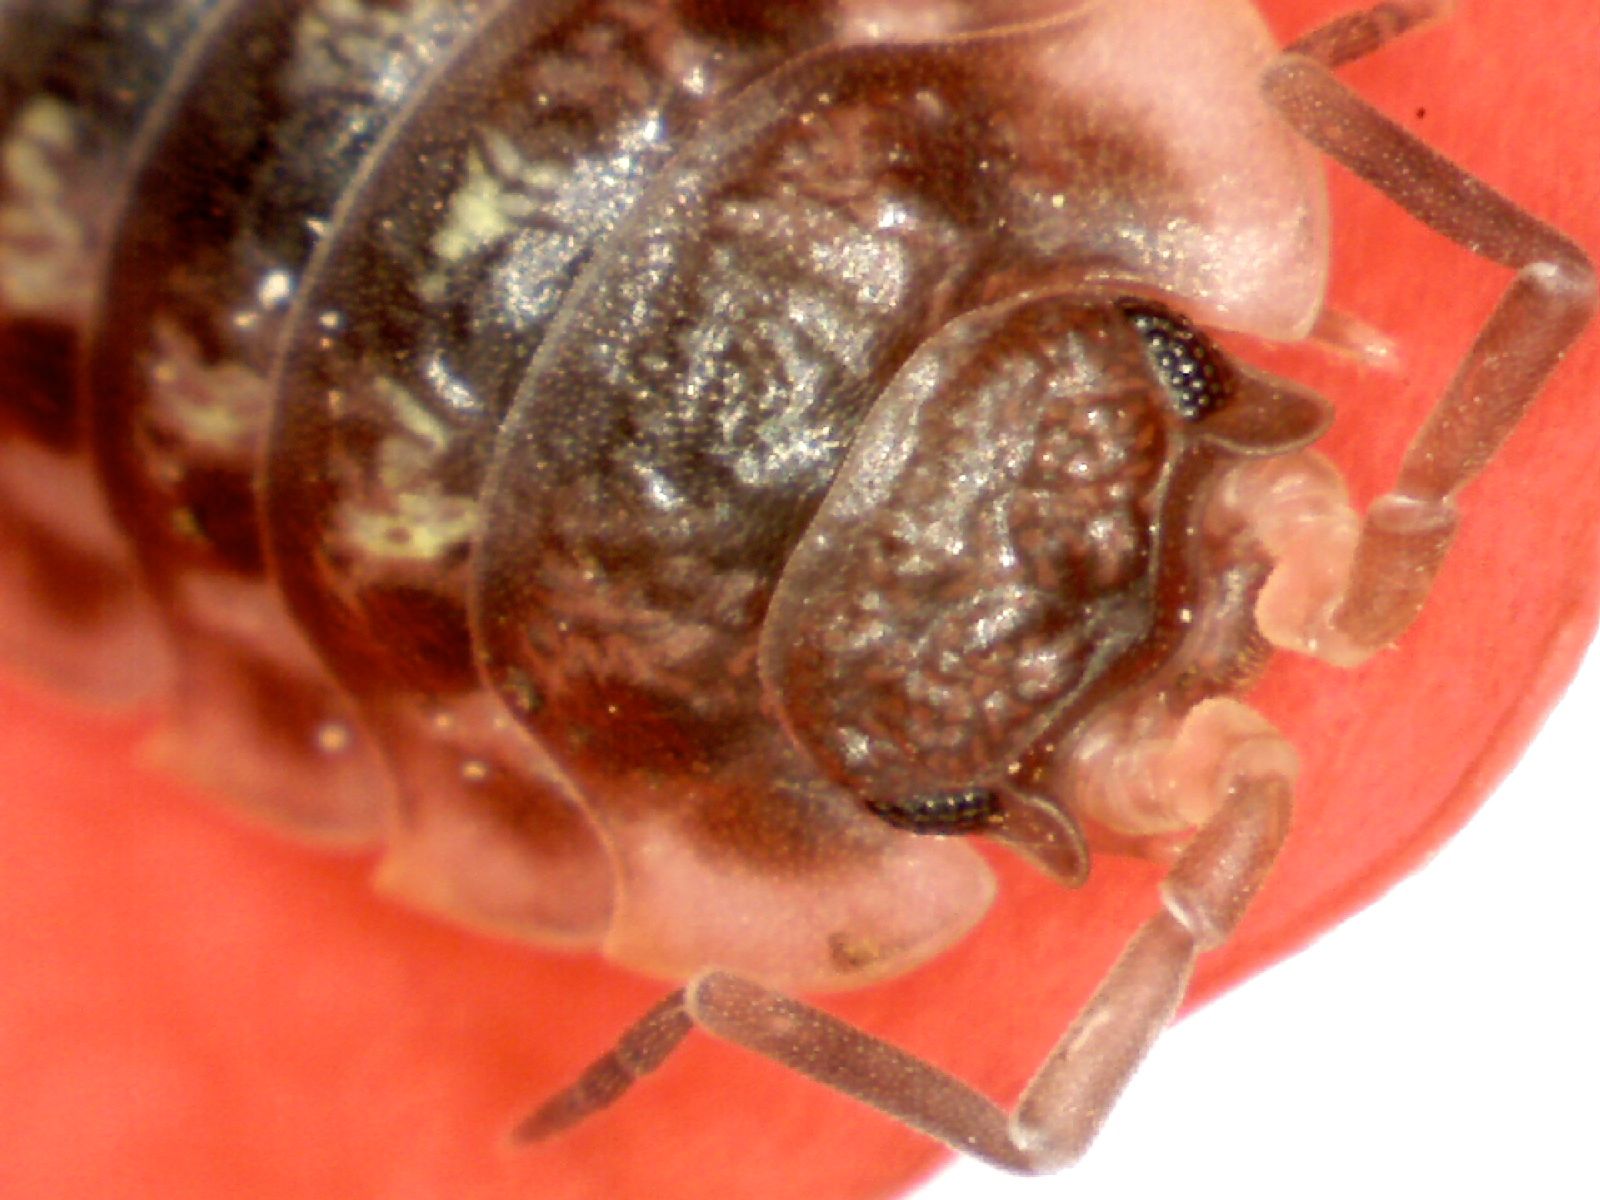
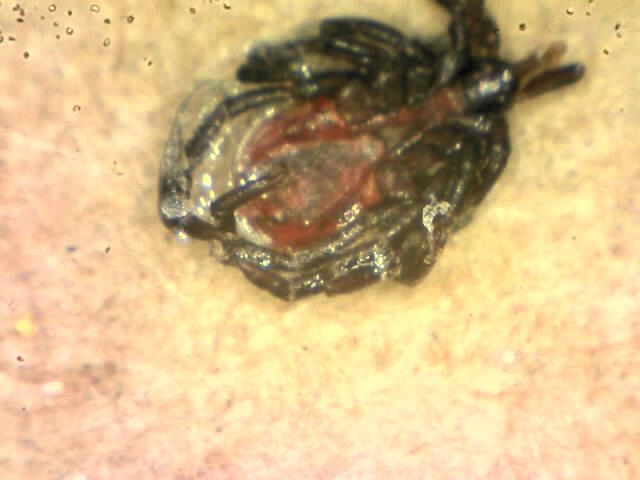
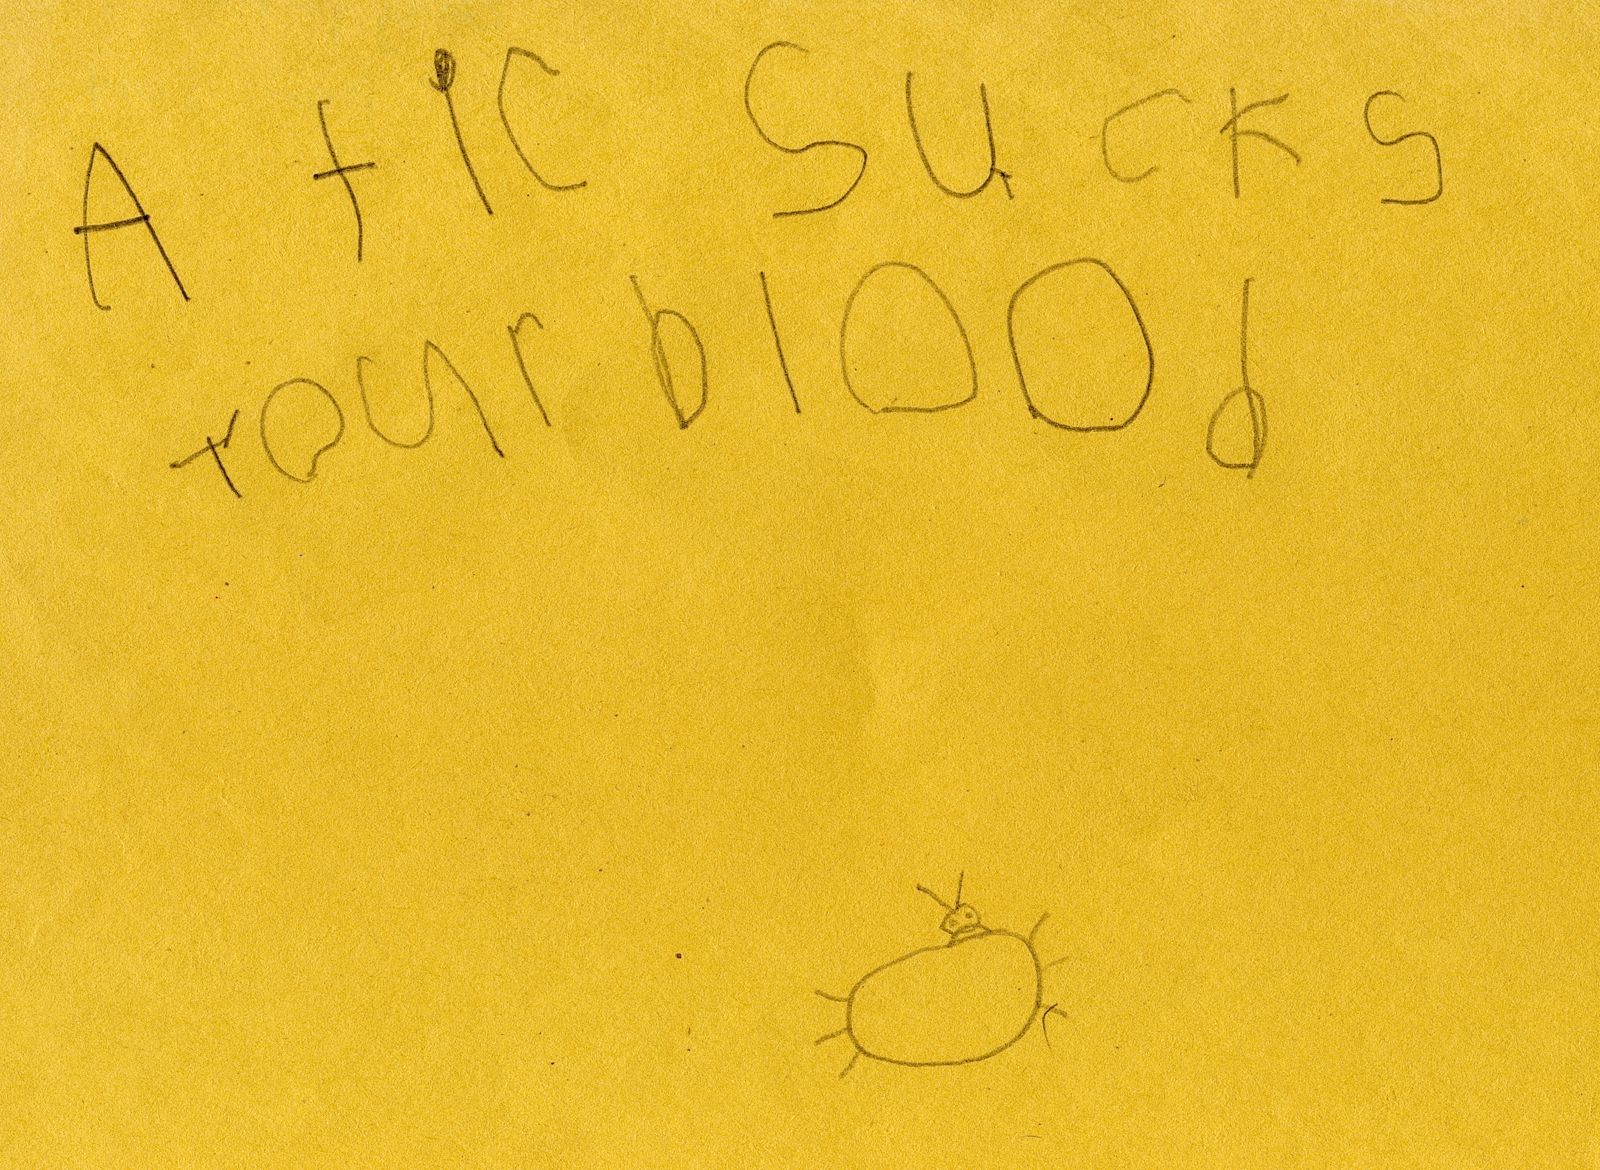
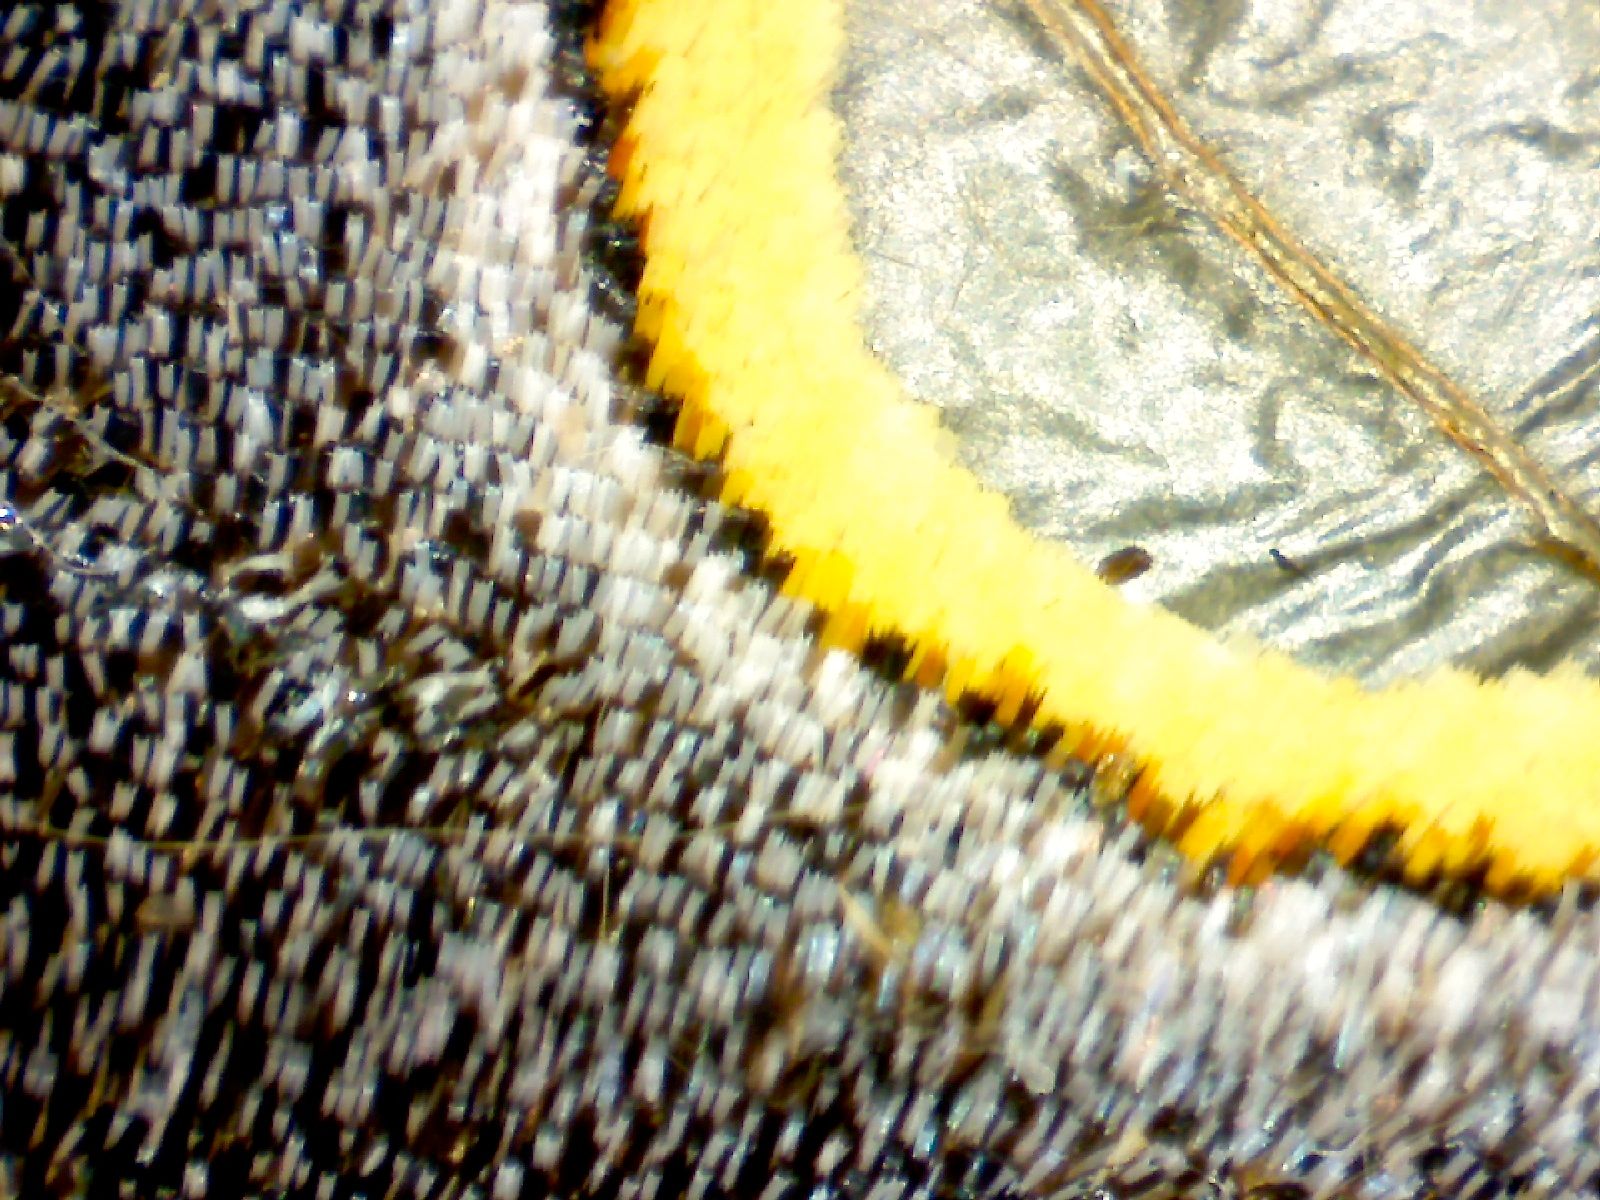
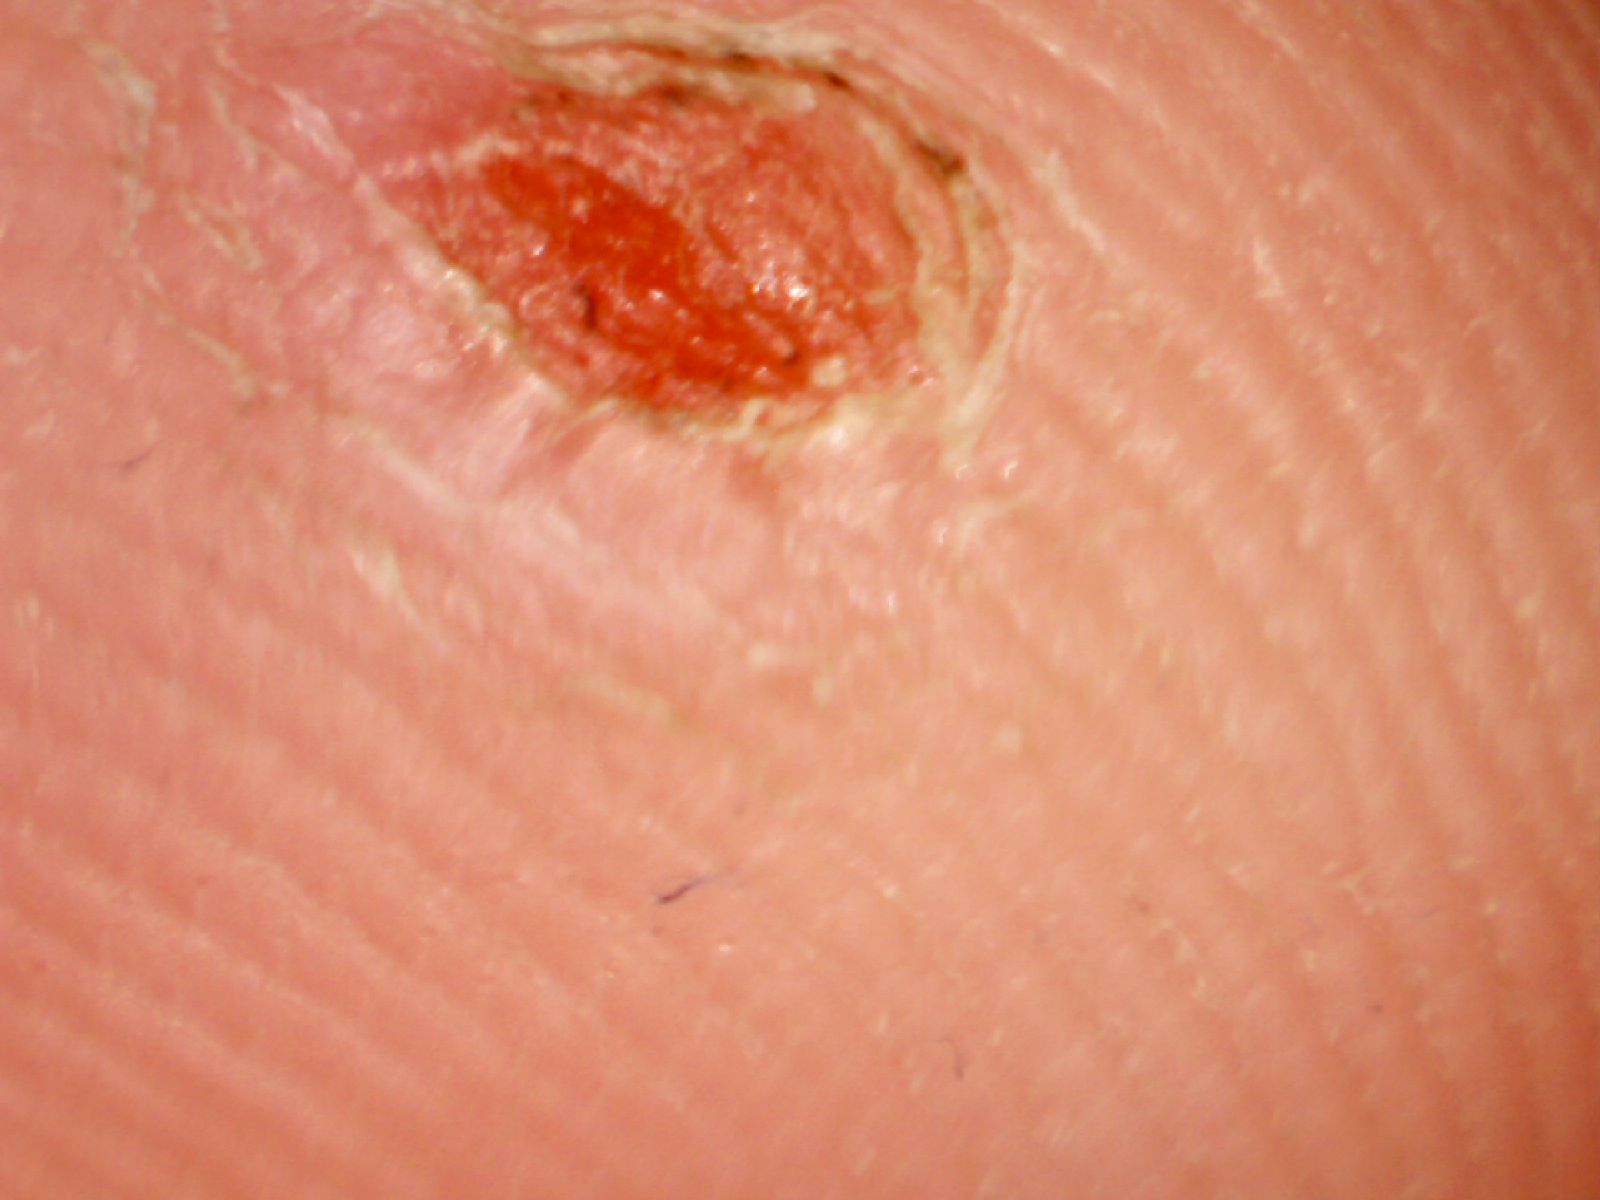
Most digital microscopes must be connected to a screen such as a computer. The best way to begin to use a digital microscope is to simply turn it on and hand it to a child. Almost without exception children (of all ages) will point it at their bodies (ear, eye, tummy...) and be fascinated with what they see. Providing learners with items that contain interesting textures and surfaces will allow them to connect their sense of touch with the image of the surface they are sensing. A most cost effective tool is a ProScope HD microscope. These can be connected to a computer in a classroom, at an exploration station, or outside in the natural environment. This microscope not only displays high definition digital images on the computer screen, but with the push of a button, it can capture photographs of what is being displayed for later discussion, story writing, or posting on a blog. The microscope with the highest resolution is the ProScope HD2. This scope captures still and moving images at 1600 x 1200. A wired base that is similar to the HD in all respects except resolution, this scope also connects to computers through a USB connection. The images captured by students must be seen to recognize the impact that this tools can have on student learning. We have all seen digital photographs of a roly poly however this microscope produces an amazing close up of the face of this isopod. The compound eyes and hair follicles are quite clear. In the series of photos on this page, there are four sets of activities documented. First are some photographs of a tick and a young student who was bitten and then had the tick removed. She viewed the tick under the Mobile scope and then proceeded to show it to all her classmates. Finally looking at the image on the laptop, she drew a picture of the tick and added some writing. In the end, the microscope empowered her to be able to move from being the victim of the tick, to coming out feeling in control of the experience. In the second set of images are images of butterfly (painted lady) and moth (polyphemus) wings taken as part of an exploration of their color. Third is an activity in the preschool classroom where A new and innovative microscope is the proscope Micro Mobile which is a small microscope that attaches to an iPad or iPhone and utilizes the camera feature of the computing device to display the image. It is designed to attach to your computing device through a variety of
Suggestions for use
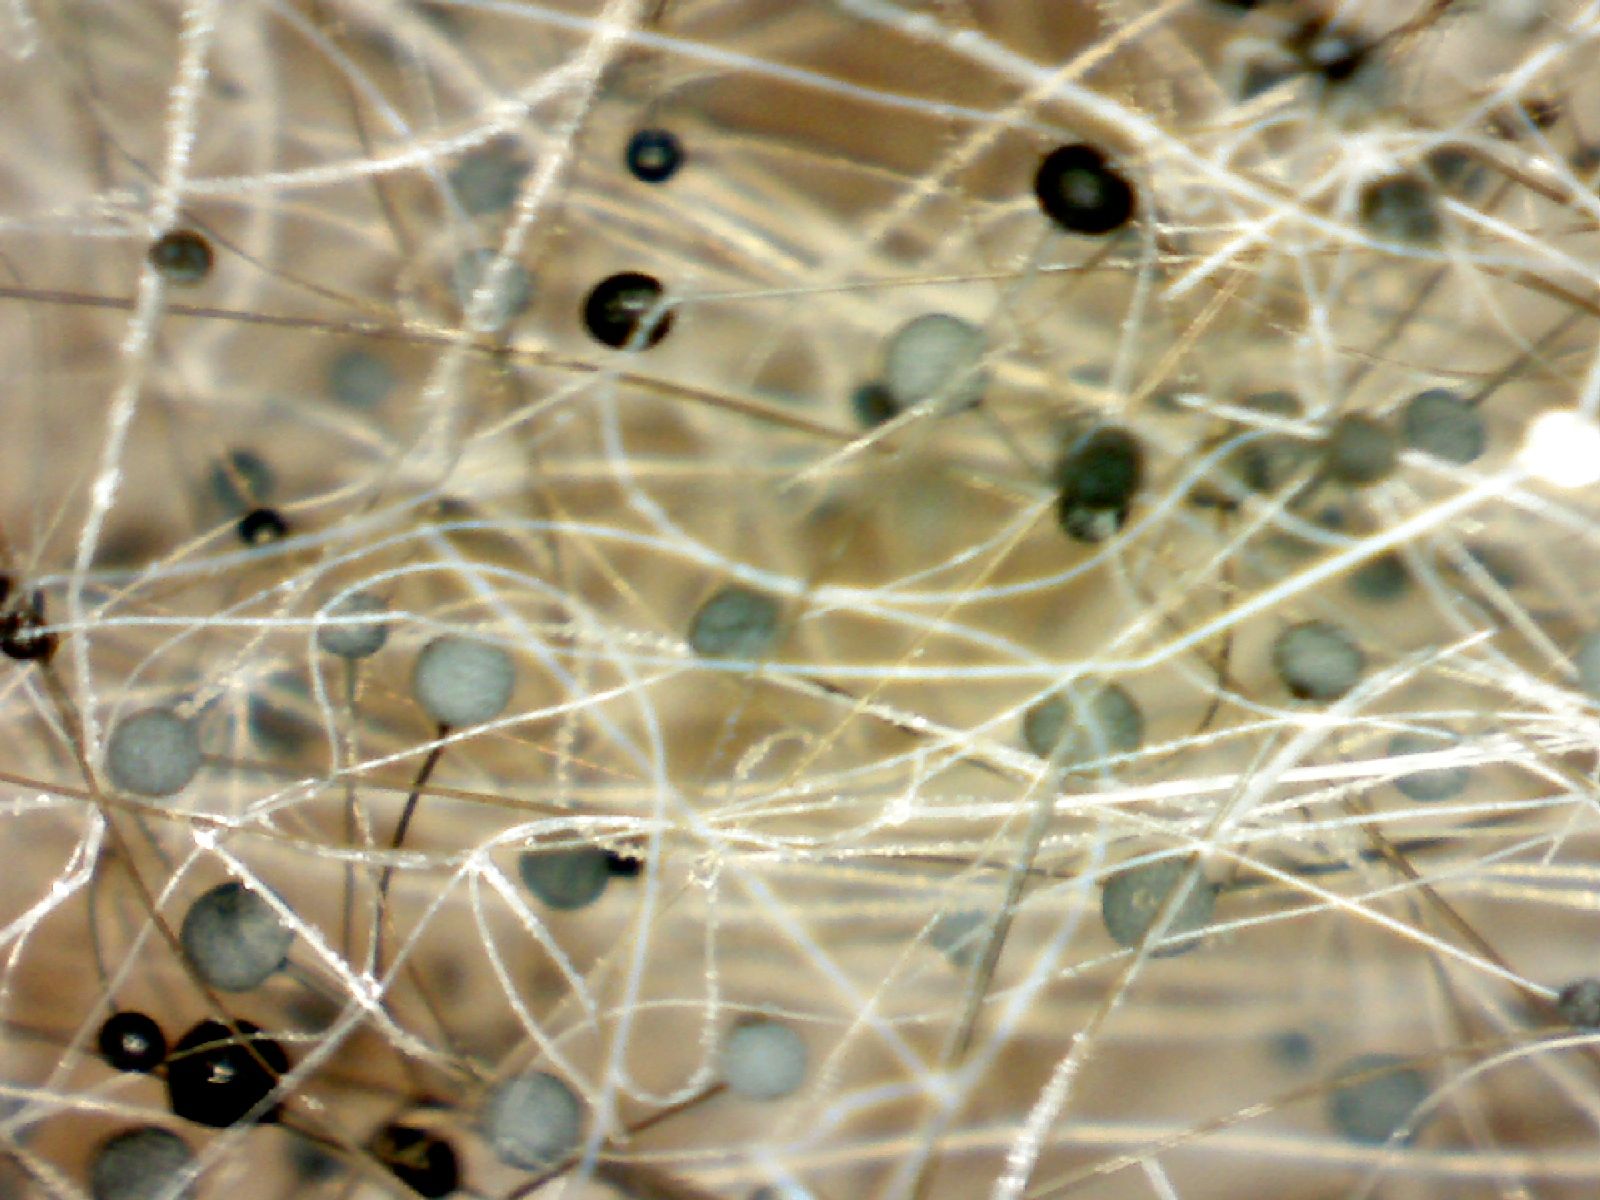
Classroom - Set up a computer (desktop or laptop or tablet) with HD software and microscope. Orient screen so that it is easy for the students to manipulate the scope and view the screen simultaneously. The scope can be particularly powerful when used for explorations of the 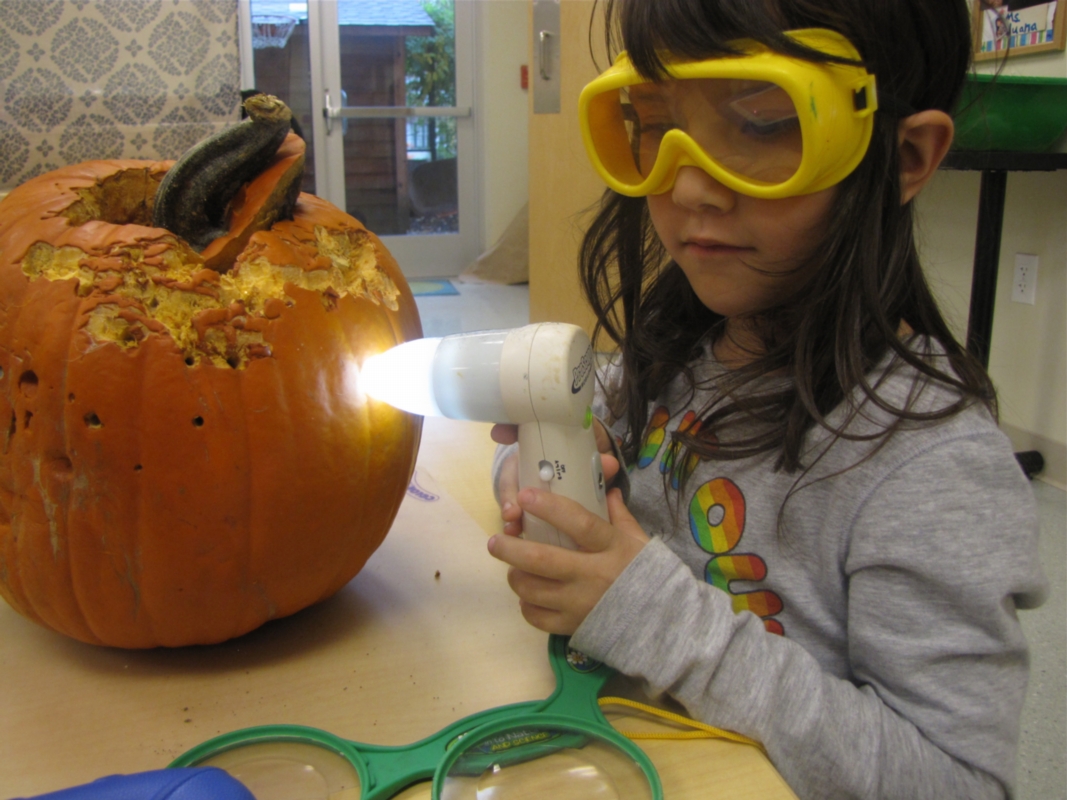 human body as there is nothing more concrete than one's own body human body as there is nothing more concrete than one's own bodyScope is also excellent for explorations of all manner of surfaces including - Natural materials such as rocks and minerals, shells, wood, insects, and plants such as molds. - Man made materials such as Metals, plastics, fabrics, various types of papers, - Interesting small details such as dates on coins or bills, watch parts, facets of jewelry.
Using the microscope outside - With a laptop computer (or the wireless microscope and iPad as described above), the ProScope can be taken outdoors and used to view materials in the natural world. In the garden it is amazing for viewing such things as the parts Lesson Ideas Images of Use Even with the very youngest children, the microscope can take a texture, or a color, or an everyday item like a crystal of salt or a fingerprint, and expand it |
||||||||||||||||
|
||||||||||||||||


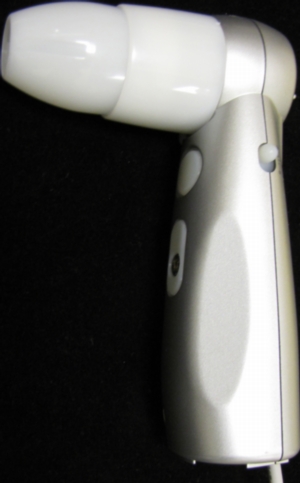
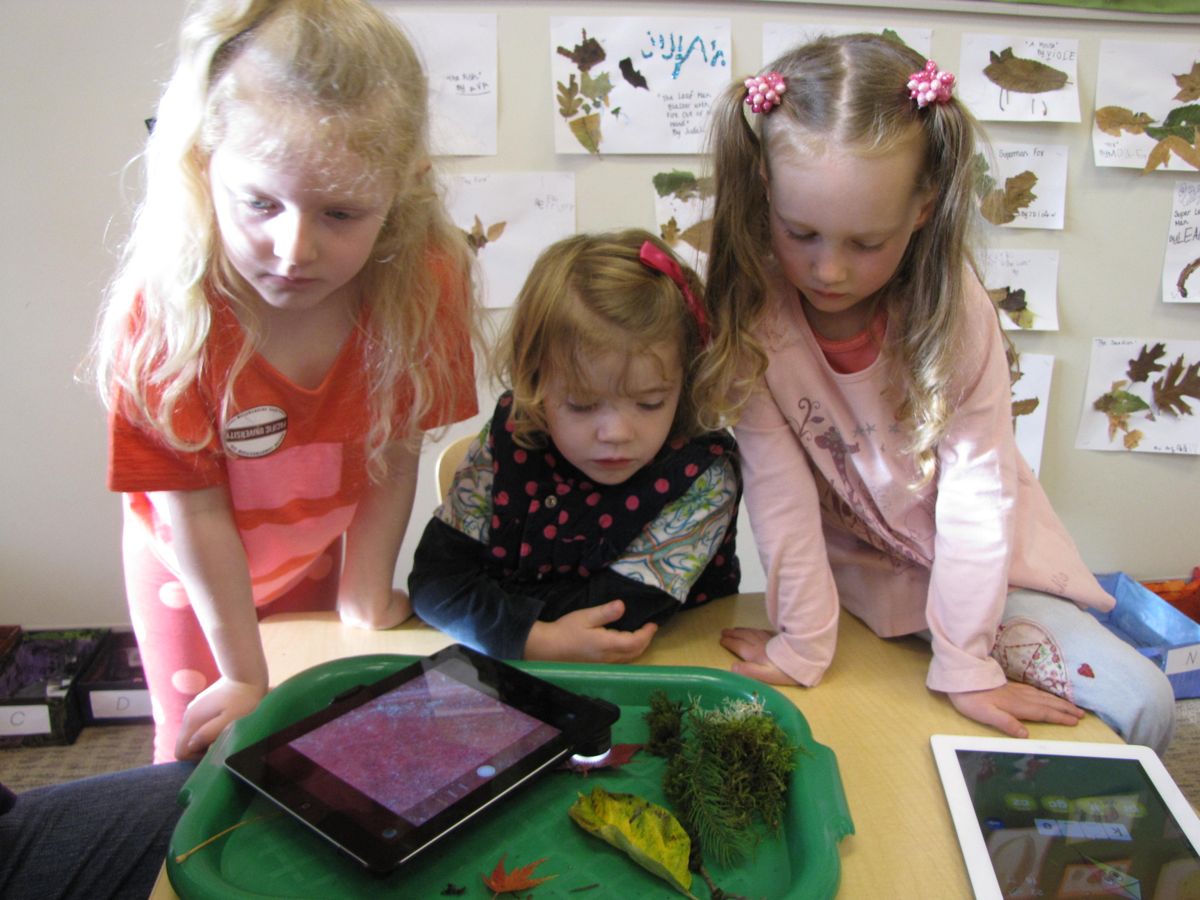
 custom-sized sleeves. Because this is a smaller less complex tool, it is the least expensive of the scopes and yet still produces stunning images. You can use the zoom on your tablet to enlarge or shrink images and to focus on specific elements of the image. Because it sits up on a foot, you can place it directly on the object that you would like to view and it will balance there. This makes it almost as portable as the Mobile, and it also is capable of taking photos and videos through the tools built into the tablet being used. A small collection of
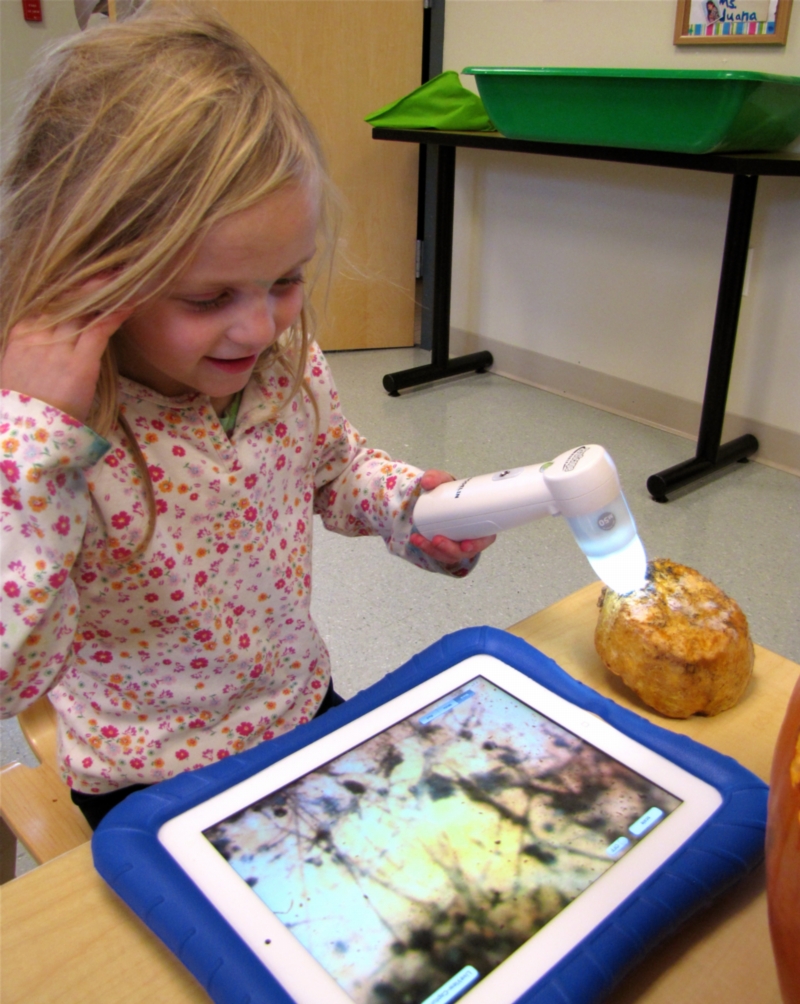
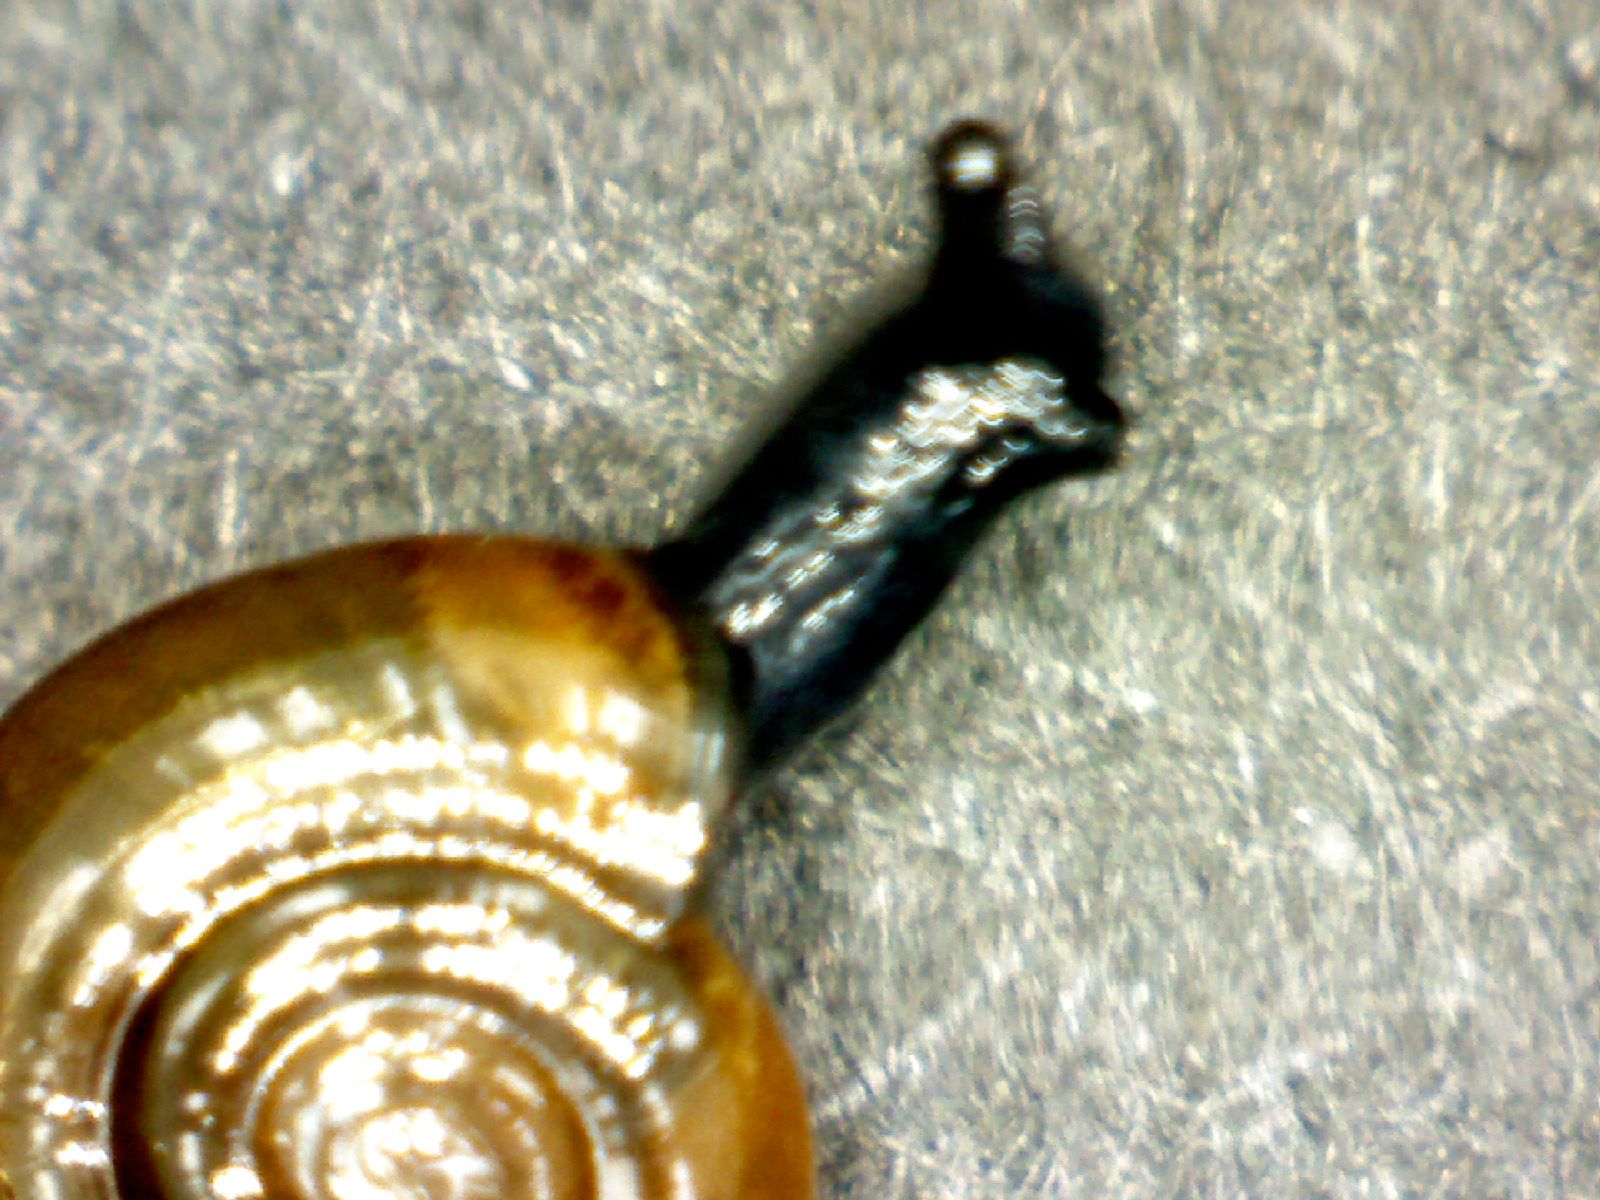
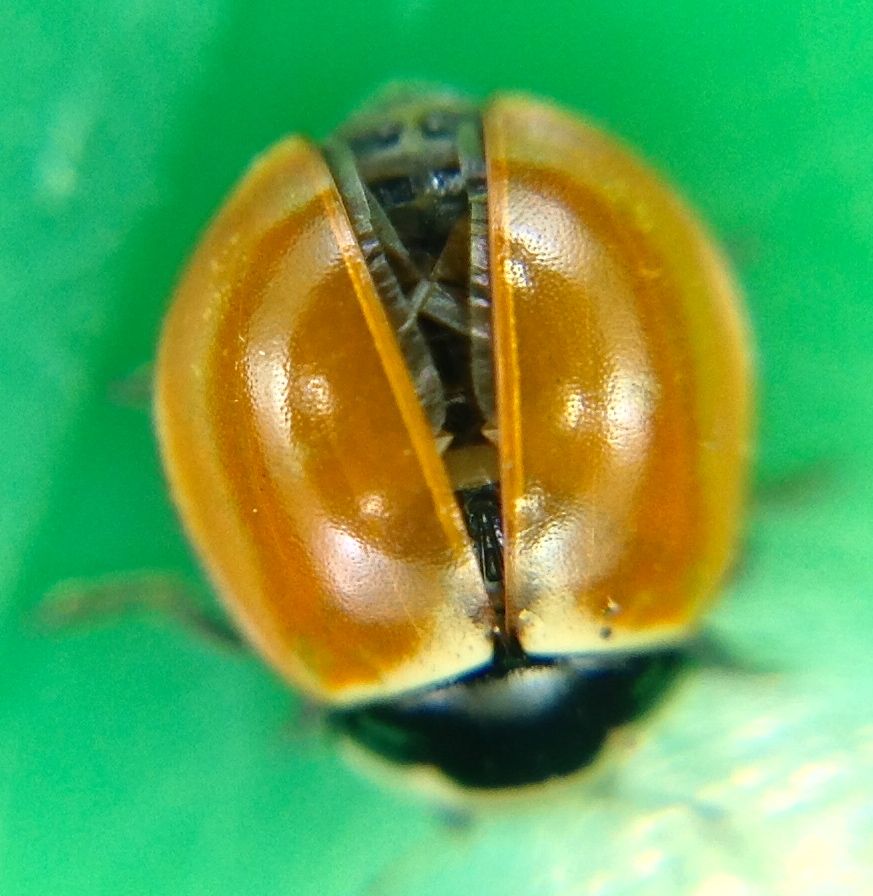
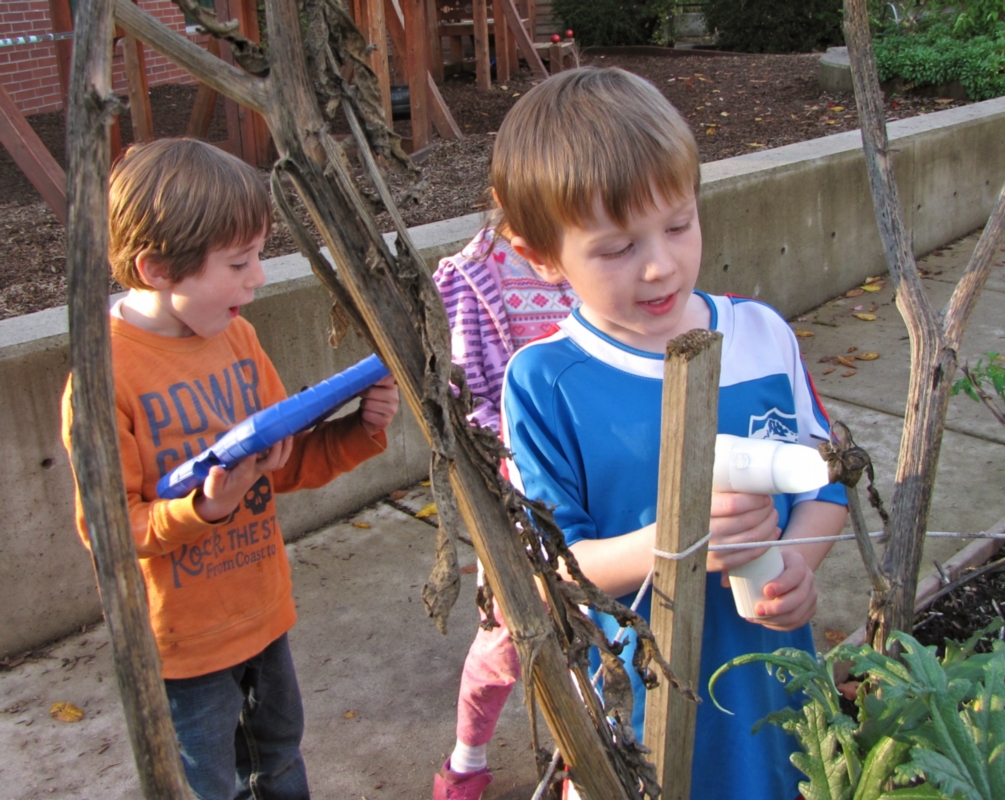 of plants, spider webs, roly-polies, or even the composition of soil. In other parts of the outdoor classroom the scope brings cement, grains of sand, bark dust, and such mundane element as blades of grass to life. Insects such as lady bugs, praying mantes, and aphids can be viewed in their natural habitat. We recommend (gently and carefully!) viewing a bumble bee immersed in its work in the purple blossoms of an artichoke, it is a humbling and spectacular sight when you can view the details of its work.
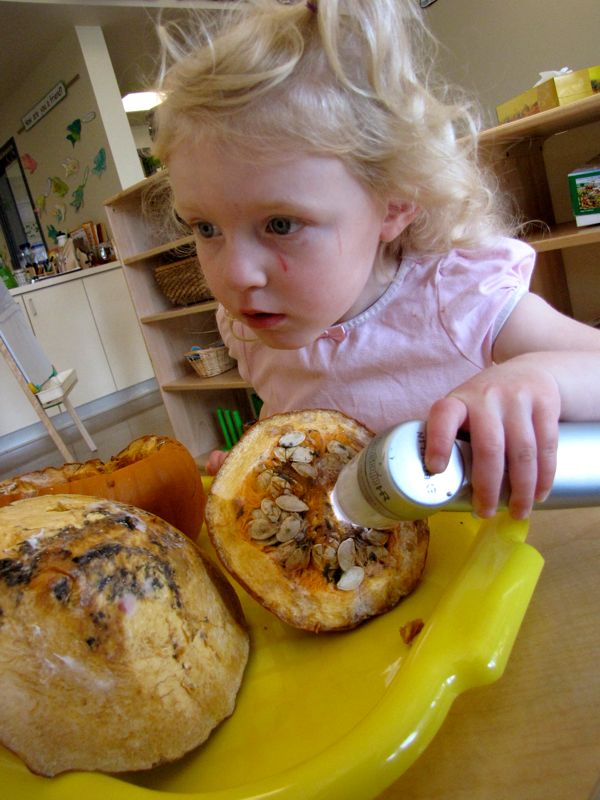 to provide a new perspective on their world.
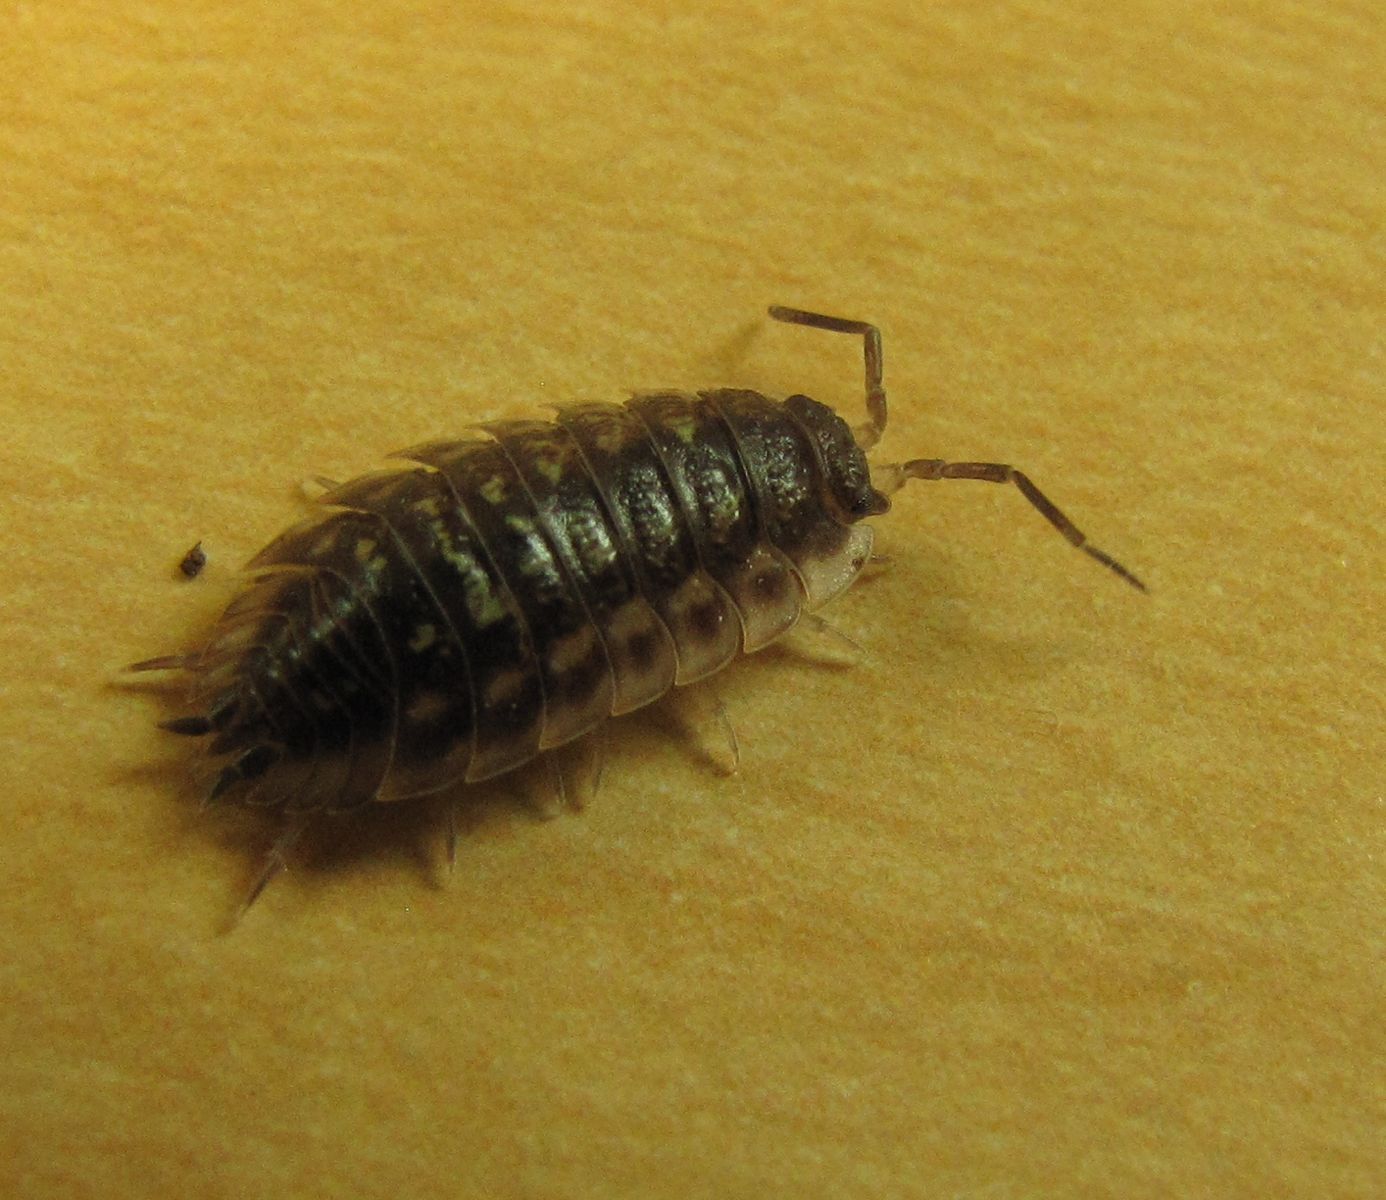